Home » Posts tagged 'ankle' (Page 3)
Tag Archives: ankle
How does the SANDDUNE help with balance and strength?
Eagle’s Lost Focal Point!
The SANDDUNE™ simulates walking in loose sand at the beach. It challenges your body to find its center of gravity. The natural phenomenon of neuropaths being re-activated after lack of activity caused by injury, illness or sedentary lifestyle, causes your muscles to react to signals from your brain, which begins a process of strengthening those muscles which are necessary to restore and maintain good balance.
For example, people with strong balance can try this Spine Stretch exercise described below on the SANDDUNE to really build and challenge their balance. From there progress to positions like the Eagle pose in Yoga. Make sure you have someone present with you to spot if this is new for you. If not, have a barre or something sturdy and stable to assist you should you loose your balance – wall or sturdy chair for example. Make sure there are no sharp object around you.
- Center yourself on the SANDDUNE with a small ball if you like, weighted or not, in your hands, with arms bent so that the ball is at your neck just below your chin.
- Stand straight, tailbone tucked with bellybutton pulled back toward your spine so your core is engaged and active. Remember as you increase your flexibility you are increasing your core strength on this apparatus.
- Before you begin your roll down, pick a focal point on the floor to maintain your balance once your eyes meet the floor.
- Now, imagine peeling an orange, trying to keep the peel in one piece as you prepare to begin a roll down similar to what is done when doing a seated spine stretch. If you are not an orange lover, then think Slinky toy and their fluid motion.
- Tuck your chin close to your chest resting it on top of the ball in your hands as you begin to slowly drop your head onto the ball in your hands and start to descend into your stretch. SLOWLY is the key word here. Your eyes focal point should follow the movement of your head.
- As you roll down, your head, hands and the ball will come into line with your waist. This is when you begin to uncurl your arms, keeping them close to your body and drop the ball slowly as you stretch the ball toward your feet. As Martha Graham, the great American Dancer said, “When you extend your arm, it doesn’t stop at the end of your fingers.”
- When you reach your feet, mindfully relax for a count of what is comfortable for you if this is your first time so that you can understand your body’s adjustments to being on a moving surface. A count said out loud of 1001, 1002, 1003 is a great way to gauge what your body’s balance can handle. Another quote from Martha Graham put this into perspective. “First we have to believe, then we believe.” “The body never lies.”
- At the end of your count, roll back up to standing in the same slow, fluid manner that you descended to your feet.
- I like to do this 10 to 20 times unless I want a deep stretch and am trying to tuck my fingers under the SANDDUNE to increase stretch.

Eagle Focus Found on The SANDDUNE!
Fall Prevention “Call to Action”
With more nursing homes and rehabilitation facilities reporting increases of people being admitted who have fallen, this fact is creating a “call to action” nationwide, to develop Fall Prevention and fitness programs that are effective and enjoyable while creating a community of support for those who need to embark on a renewal of fitness and vitality. People like Jack LaLane, Lilias, 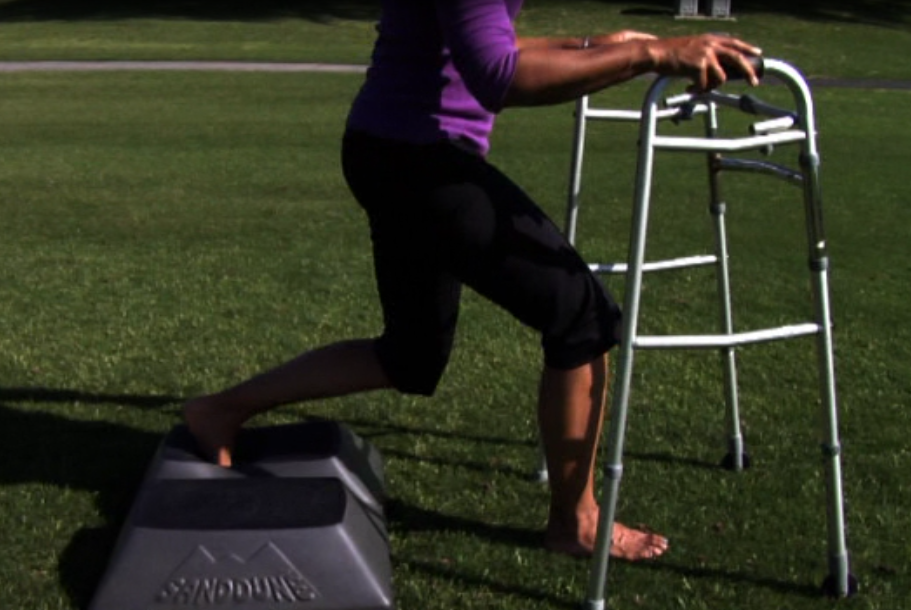 Billy Blanks, Jane Fonda, Joseph Pilates, and Rodney Yee have created fitness communities that can be embraced at all fitness levels with proper guidance – from kids to grandparents. Letting physical vigor and productivity drop because you have retired, or have reached that “age” that the “norm” says you can let it all hang out, creates the chances of becoming a candidate at risk for falls. Many people hit age 50 and decide I have had enough of sweatin’ to the oldies and runnin’ on empty. My feet hurt and now I can sit back relax and gather some moss on the stone that has stopped rollin’. But, hey look at the Rolling Stones – no moss is gathering there! Ignoring the signs of loss of balance and strength can lead to falls. The chances escalate that you will continue to fall without some sort of intervention in the form of a fitness program to strengthen balance, gait and flexibility. The increasing difficulties of getting out of the car or your favorite chair are a couple of signs to be aware of.
Since the Baby Boomer population began hitting age 65 in 2011 at a rate of 8,000 per day, it is alarming that one-third of people over 65 are injured due to falls. Make it a personal “call to action” to start a fitness program or keep your fitness on a level that is compatible with your capabilities, age and health. Some will have greater capabilities than others and that’s fine. It’s all about taking care of your health and fitness. Start really enjoying your grand-kids or kids in some cases. Take the time to talk to your doctor about exercise and diet. Join a club or a group around the corner at a recreation center. 
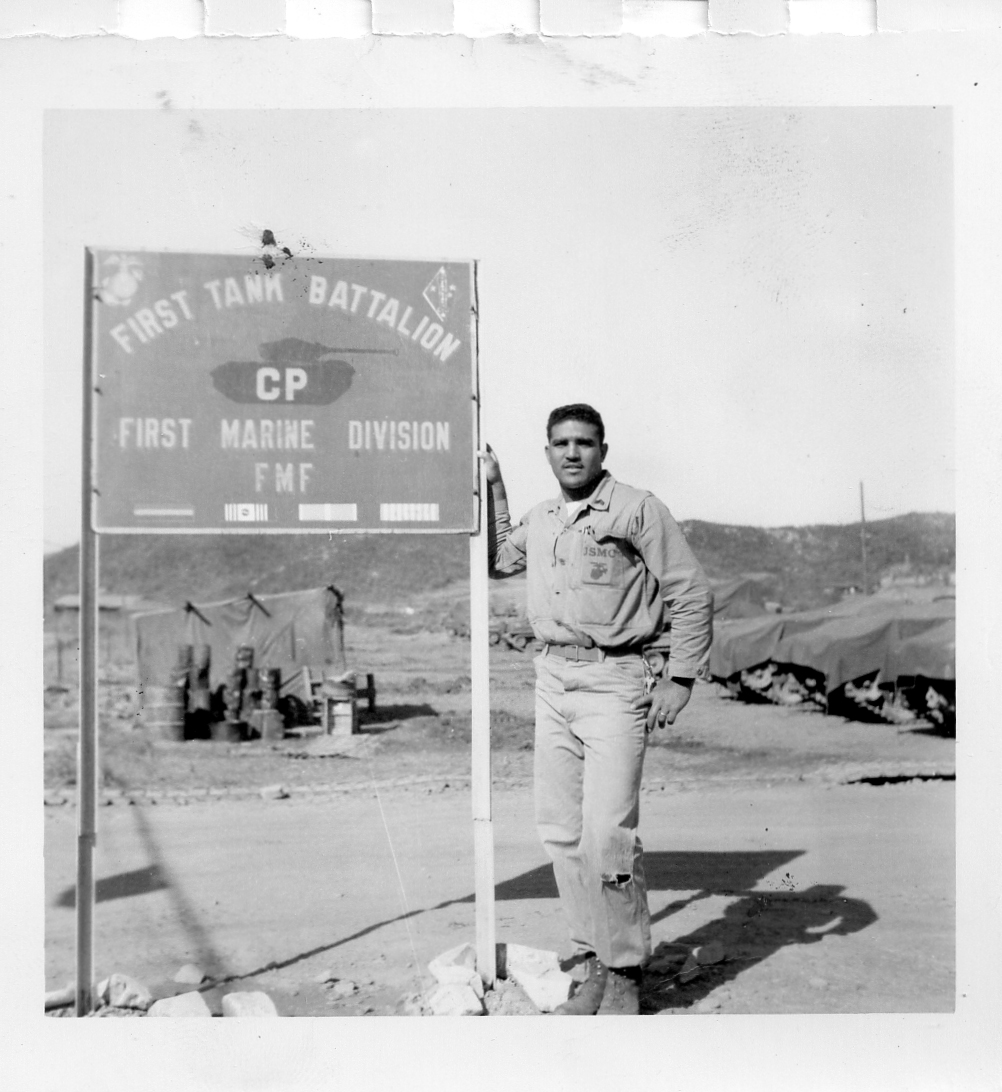
*US Veterans Discount*
~ From Memorial Day, May 27, 2013 thru July 31, 2013 ~
Original SANDDUNE™ is offering
30% off the regular price of $279.00 to US Veterans.


*United States Armed Forces Original SANDDUNE™Discount*
- ~ From Memorial Day, May 27, 2013 thru Labor Day Weekend 2013 ~
Original SANDDUNE™ is
30% off the regular price of $279.00 to US Veterans.
US Veterans Discount
~ From Memorial Day, May 27, 2013 thru Independence Day, July 4th and ending on July 31, 2013 ~
Original SANDDUNE™ is offering
30% off the regular price of $279.00 to US Veterans.
Navy Vet experience with Original SANDDUNE™
sam.gov Vendor


US Veterans Discount
~ From Memorial Day, May 27, 2013 thru Independence Day, July 4th and ending on July 31, 2013 ~
Original SANDDUNE™ is offering
30% off the regular price of $279.00 to US Veterans.
Navy Vet experience with Original SANDDUNE™
sam.gov Vendor
Start to Improve Lower Body Strength, Stability and Joint Mobility when you first rise
Start to Improve Lower Body Strength, Stability and Joint Mobility when you first rise, stand and walk in the morning. Think of how a cat or dog stretches when they get up. Learn to listen to your body and begin to recognize its changes. We are not taught to do this. Most of us just get up and hit the ground running without a thought of the body’s readiness to move or even the newness of the day. Try these suggestions to reconnect or begin to care for your body’s alignment starting with a morning regiment.
First begin with body rolling. It’s a soothing way to get the blood flowing as you roll from side to side with your arms and bent knees folding and unfolding as you roll back and forth. Begin lying on your right side in the fetal position. As you begin to roll on your back, let your left arm float open as it crosses your body and your back flattens on to the bed. Your left knee mirrors the movement of your arm as the hips. Complete the motion by bringing your right arm and leg over to meet their left side’s counterparts in the fetal position. Do this rolling back and forth 4-6 times.
When you finish rolling, gently draw your knees to your chest, either together or slightly apart, whatever is comfortable as best you can and hold for a count of 30. Then gently rock back and forth on back. Don’t roll over to your side like you in the first warm up. Do this 4-6 times.
Once your rocking is complete, become still and begin to visualize your head and neck in line with your spine, imagining someone is running a string from the center of your head to the tip of your tailbone as the spine aligns itself. Place your arms a few inches from your side with your palms down and legs straight, your feet and knees in line with your hips. Wiggle your body around a bit, settle in and relax for a minute or two in a brief mindful meditation.
Next, press the heel of one leg into the bed, keeping it straight. Feel your leg become tense and hold for 4 counts with the first press being light and subsequent presses done with quick release of the heel into the bed. Repeat this 4-6 times. Repeat with the other leg holding for a count of 4 and repeating this 4-6 times. As your body gets used to this, you might try increasing to 8-10 times…then 12-16 times. This increases circulation. Don’t push too hard in the beginning, as you may get a leg cramp! Once finished, prepare to stand.
As you come to your feet, remember to take your time and go slowly. Come to your feet (or sitting if you choose), begin to do foot circles by rolling the whole edge of your foot on the floor or the SANDDUNE™, to stretch and strengthen ankle flexion. Be sure your feet are in line with your hips as you stabilize yourself with a barre, chair, or sturdy counter. Be sure the knee of your standing leg is soft and your core is intact and active. Try this beginning with 5-10 circles clockwise and counter-clockwise with both feet working up to 15-20 circles. This movement will create an awareness of how the edge of the foot feels. This is something many people NEVER think about unless they are an athlete, especially a dancer, gymnast or athlete participating in any discipline involving continuous running, making rapid changes in many directions.
Now focus on your knees. I hear more people complain about their knees than their feet. When doing standing foot circles it is natural that knee circles follow. As you circle your foot, notice how the knee hinge is now drawing its own circle. This a natural integration of movement required for walking. Allow your foot to balance on the ball of the foot and concentrate on the circle you are now drawing with your knee. You can see the same movement with the knee if you are sitting, but not as pronounced. Watch it, become aware of the movement and how it feels. Repeating knee circles with the foot off the ground works the Psoas muscle in your back heightening your awareness of its connection with the hip joint socket. You can do this on the floor or the SANDDUNE™.
Because the feet and knees are now engaged, it is natural that the hips begin creating their own circles. Both standing/anchor leg and pushing leg are now engaged and the hip joints have begun to swivel, drawing their own circles. Hip swivels will create greater strength and mobility as the body naturally “oils the hip joints.” Go clockwise and counter-clockwise. This exercise can be done on the SANDDUNE™ as well with sturdy support or with a companion to spot you. Have one hand on your hip the other on bar or support. If your balance is good, hands on both hips. Start with 4-6 swivels in each direction working up to 12-16 times. If standing is not an option, do this on your knees and as strength and flexibility increase, you can work your way to standing.
Finally, keeping your standing/anchor leg’s knee soft, slightly bend your other knee and allow the ball of the foot to push into the ground as the heel remains raised, off the floor. This action lifts the “hip chamber” up and when you drop the hip back down it relaxes the muscles and joint. Do this 4-6 times on each leg working up to 8-10 times. The pushing action into the hip chamber strengthens the lower back muscles as well as the leg. Now you’re ready to get your day rolling and body is too.

I am physically active so why should I use the SANDDUNE™?
The Original SANDDUNE™ provides an additional platform for more effective warm-up and cool-down. Incorporate some of your stretches along with an easy jog to kick start the body’s engine. Try adding regular stationary exercises (ie…curls on the uphill slope) on the SANDDUNE™ for greater challenge because of the additional balance required. Golfers, who practice simulated strokes on the SANDDUNE™, report cutting strokes off their game because their bodies are more responsive. With consistent use, muscles are developed that you have been unaware of and were previously unengaged. This apparatus will help increase lean muscle mass. It is an easy workout perfect for a light day – add hand or ankle weights to increase the intensity of the workout if preferred.
For active people and athletes, cross training on the SANDDUNE™ translates into better coordination, more flexible joints/tendons, and responsive musculature. When beginning training or resuming working out after a self-imposed or injury-imposed layoff, the SANDDUNE™ helps reduces chances of injury and shortens recovery time as the sarcomeres (which are groups of muscle cells involved in the contraction and relaxations of muscles) are not so easily torn. It is the breakdown of the cells and muscle tissue that give us the inflammation and soreness we all love to hate. “No Pain, No Gain” as the old saying goes!
Muscles are usually stiff and sore a day or two after returning to activity because of damage to muscles fibers being stressed past their “normal or current” length from daily use. By the time you are into week #2 of becoming “Rocky”, additional sarcomeres have developed within the muscles, lending themselves to greater strength and protection of the muscles as they are being built up. Starting the workout regimen more prudently takes from the amount of “pain we gain” as we begin rolling toward fitness again. Remember that the SANDDUNE™ encourages proper use of the whole body in walking, running, golfing, dancing and sports.
